Your regular gel polish chips after a week. You watch it peel at the edges. Frustrating, right? You want a manicure that actually lasts.
A structured gel manicure solves this problem by adding strength from within. This technique builds up the nail with a thick gel layer before any color goes on.
The gel creates a protective arch across your nail bed. You get longer-lasting results and stronger nails that resist breaks and bending.
We’ll show you what structured gel actually is, explain the different types available, walk through each step of the application process, and compare it with other manicure options.
We’ll also help you decide if it’s the right choice for your nails.
What is a Structured Gel Manicure?
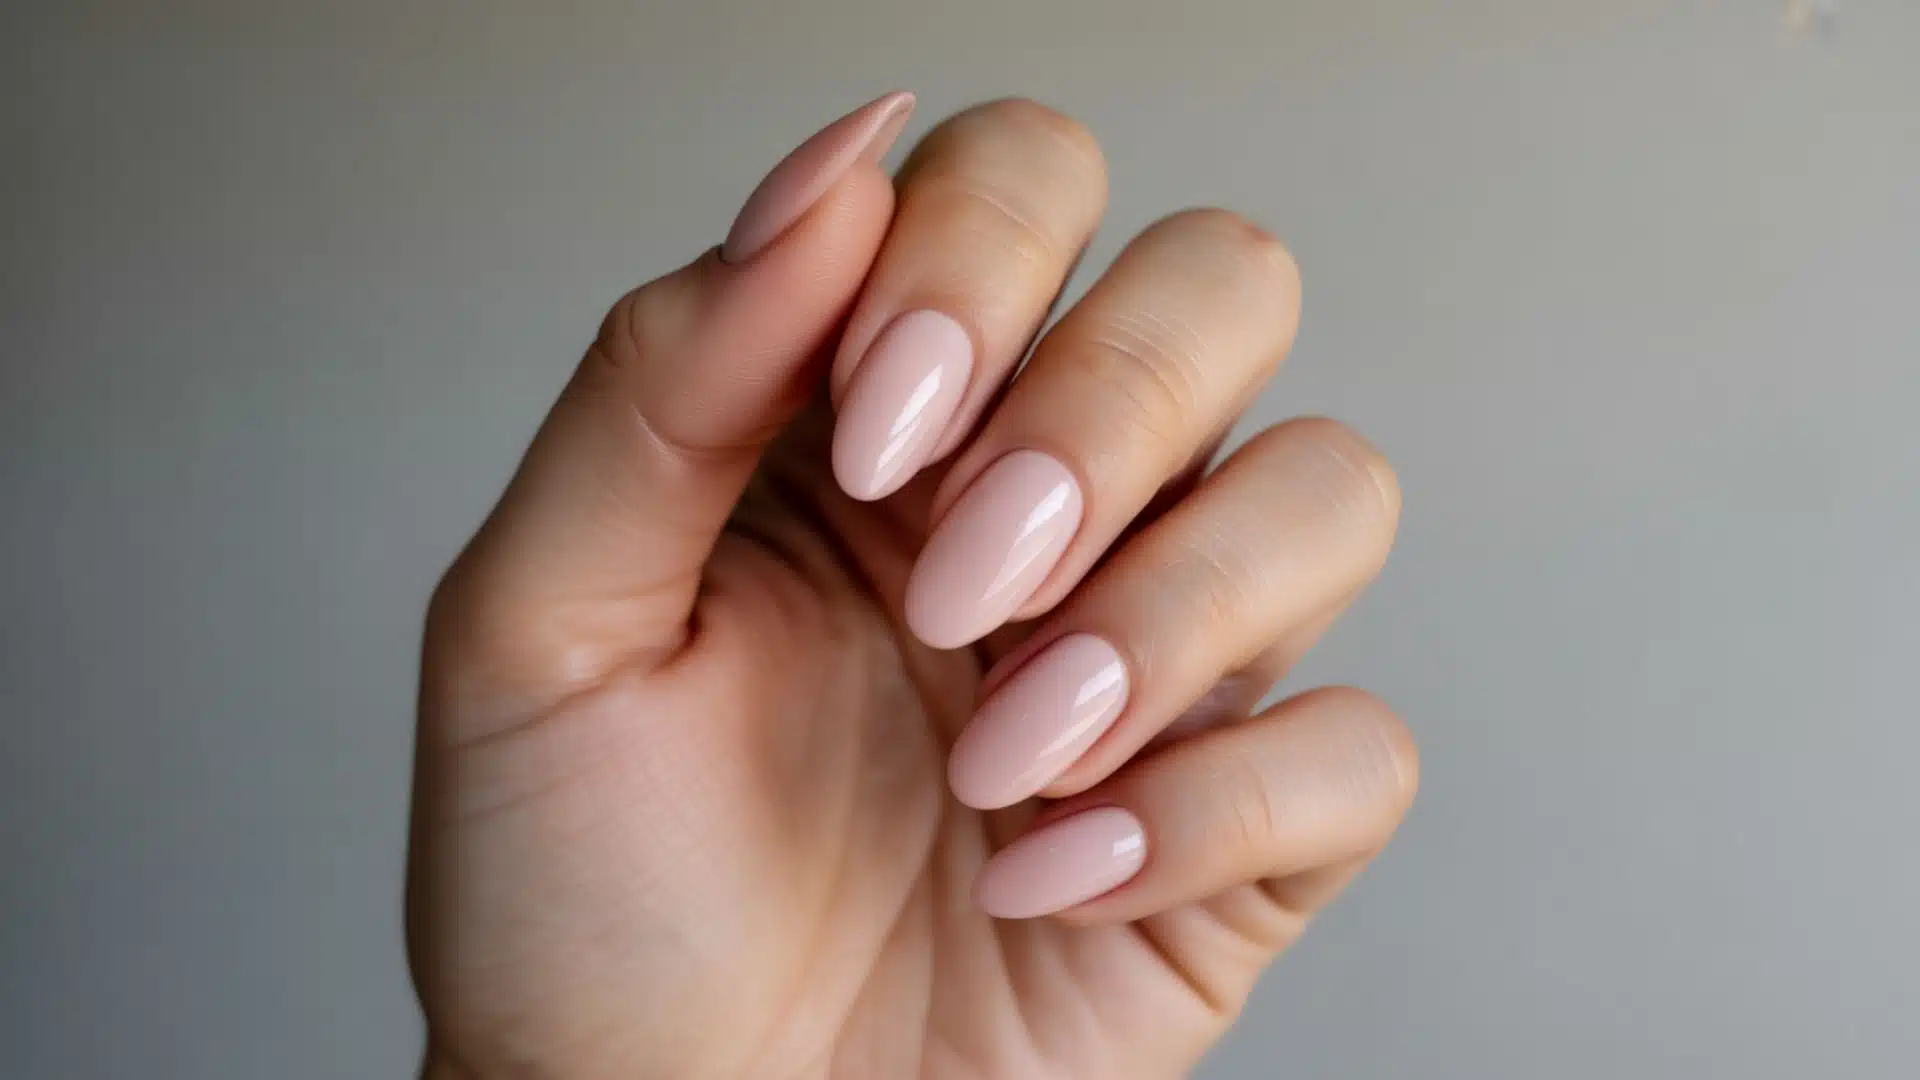
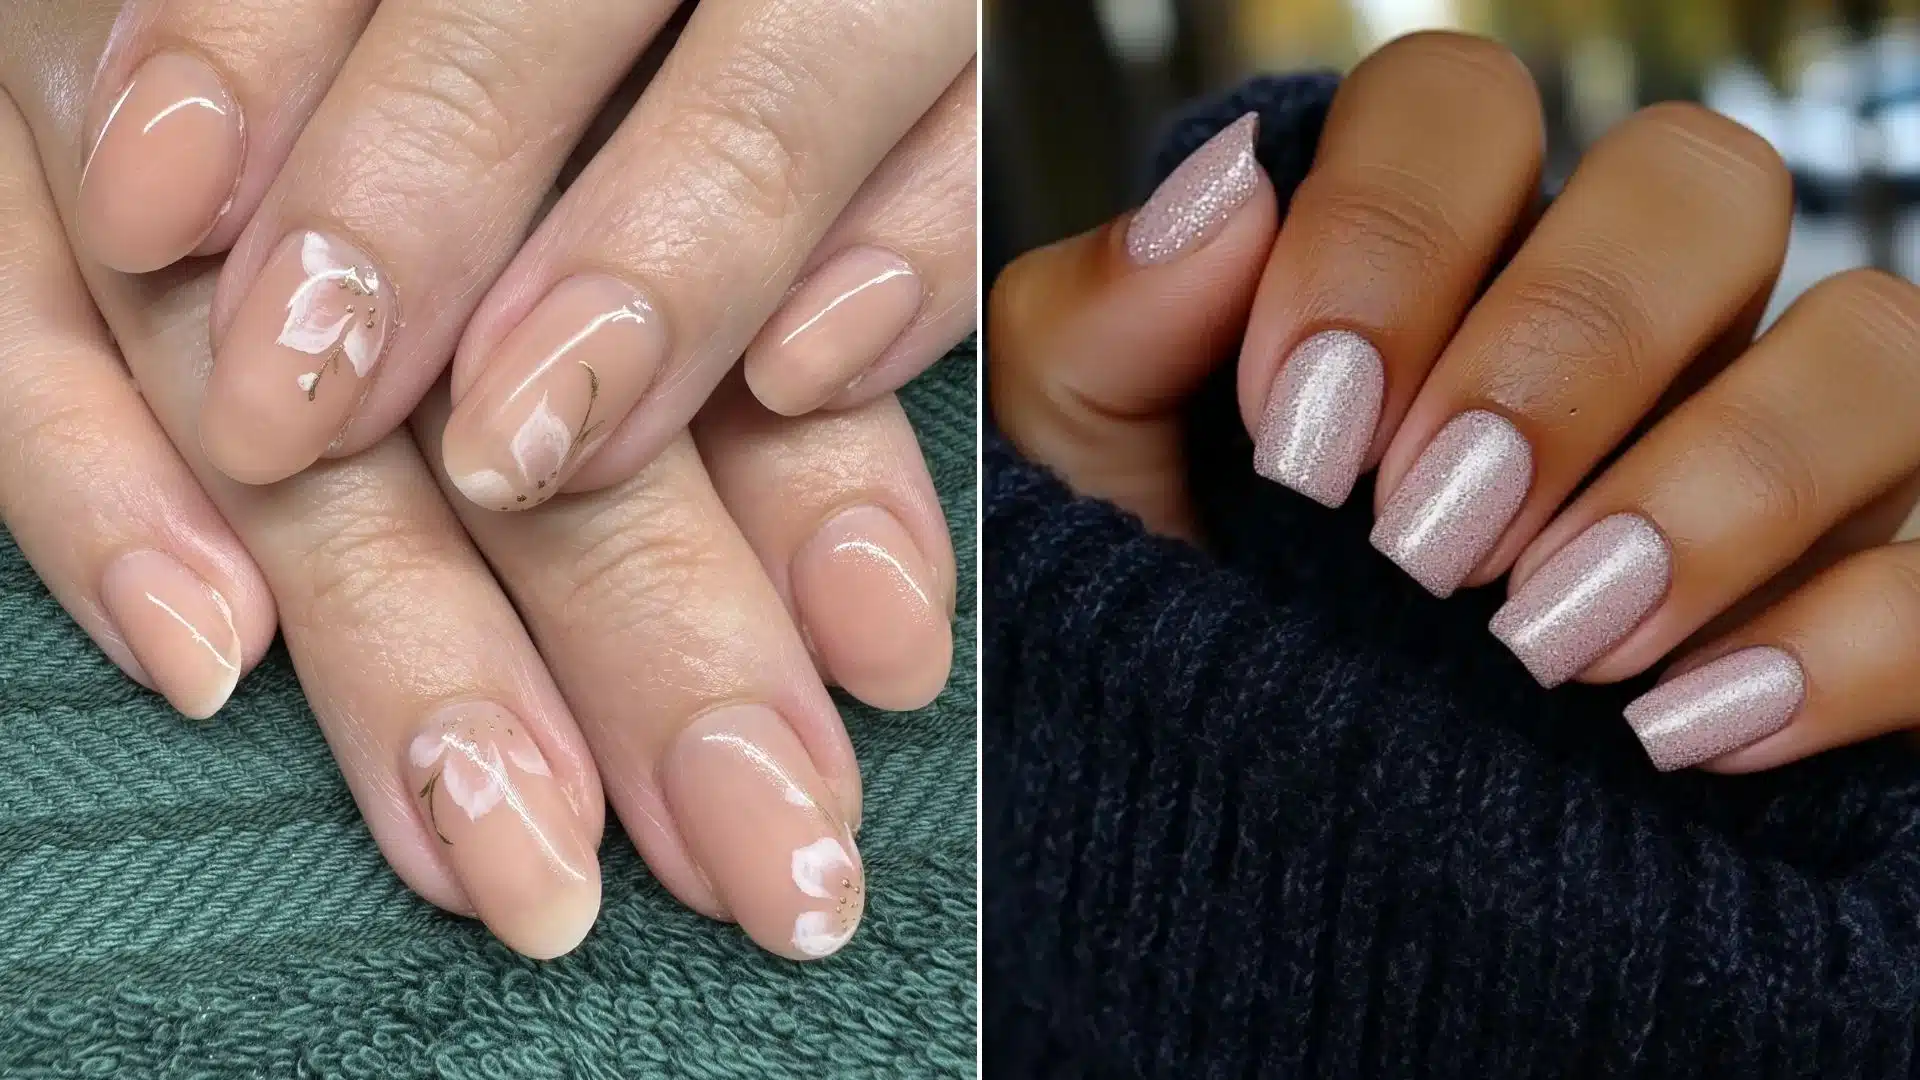
A structured gel manicure adds a supportive gel layer to your natural nails before applying color.
Think of it as building a foundation. The gel creates an arch across your nail bed. This arch mimics the natural curve of a healthy nail. It makes your nails stronger and less likely to bend or snap.
The gel used is thicker than regular polish. It’s more viscous and holds its shape. Nail techs apply it in specific areas to create that protective curve. The highest point sits at the center of your nail. This is called the apex.
Your nails carry this extra support for weeks. Colors stay brighter. Chips happen less often. The gel protects your natural nail as it grows underneath.
Types of Structured Gels in Manicure
Not all structure gels are the same. Three main types exist, each with different properties. Your nail condition and lifestyle determine which one works best.
1. Hard Gel
Hard gel cannot be soaked off with acetone. It stays rigid after curing. You must file it down for removal.
This type works best for nail extensions or serious repairs. It provides maximum strength but needs professional removal.
2. Builder Gel
Builder gel sits between hard gel and soft gel. It’s thick enough to create structure.
Some versions soak off with acetone. Others need filing. This type works well for natural nail overlays. It offers strength without being too rigid.
3. Soft Gel
Soft gel (also called soak-off gel) removes easily with acetone. It’s the most flexible option. While thinner than hard gel, newer soft gel formulas still build structure.
They work for mild nail strengthening. Most people find this type easiest to maintain.
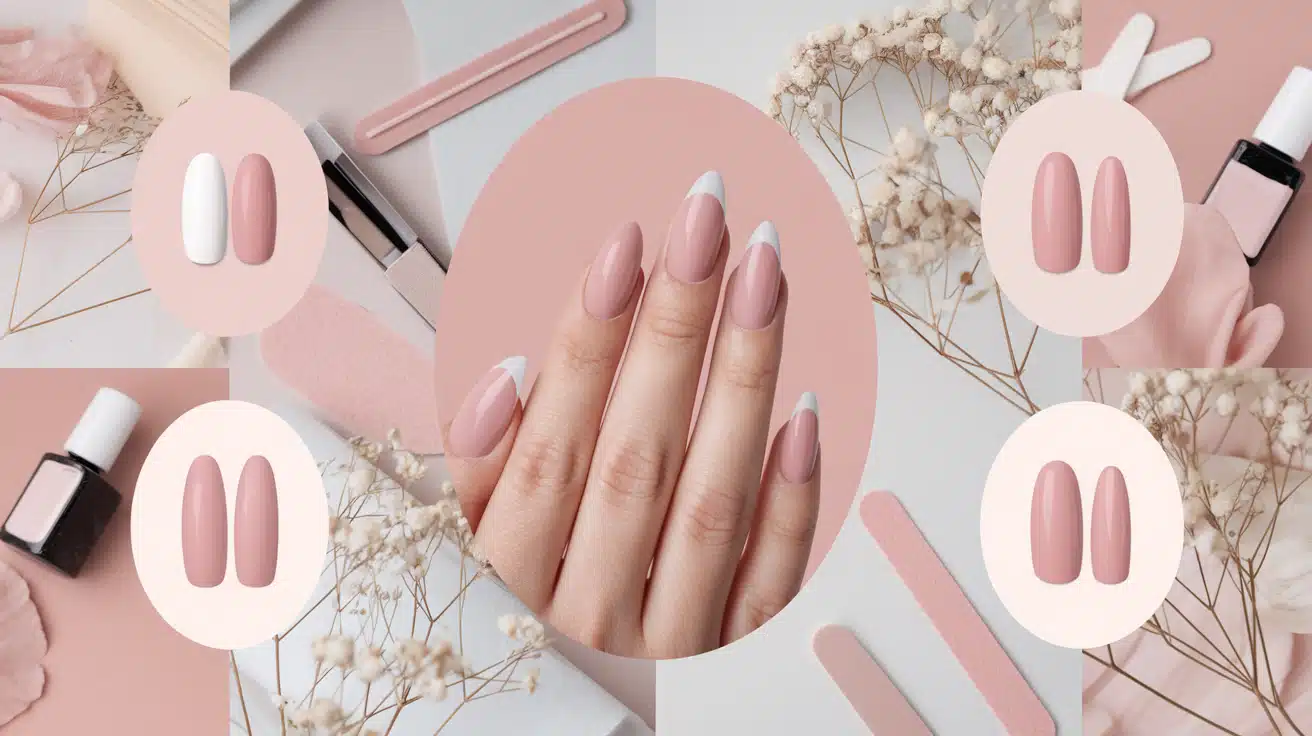
Process of Structured Gel Manicure
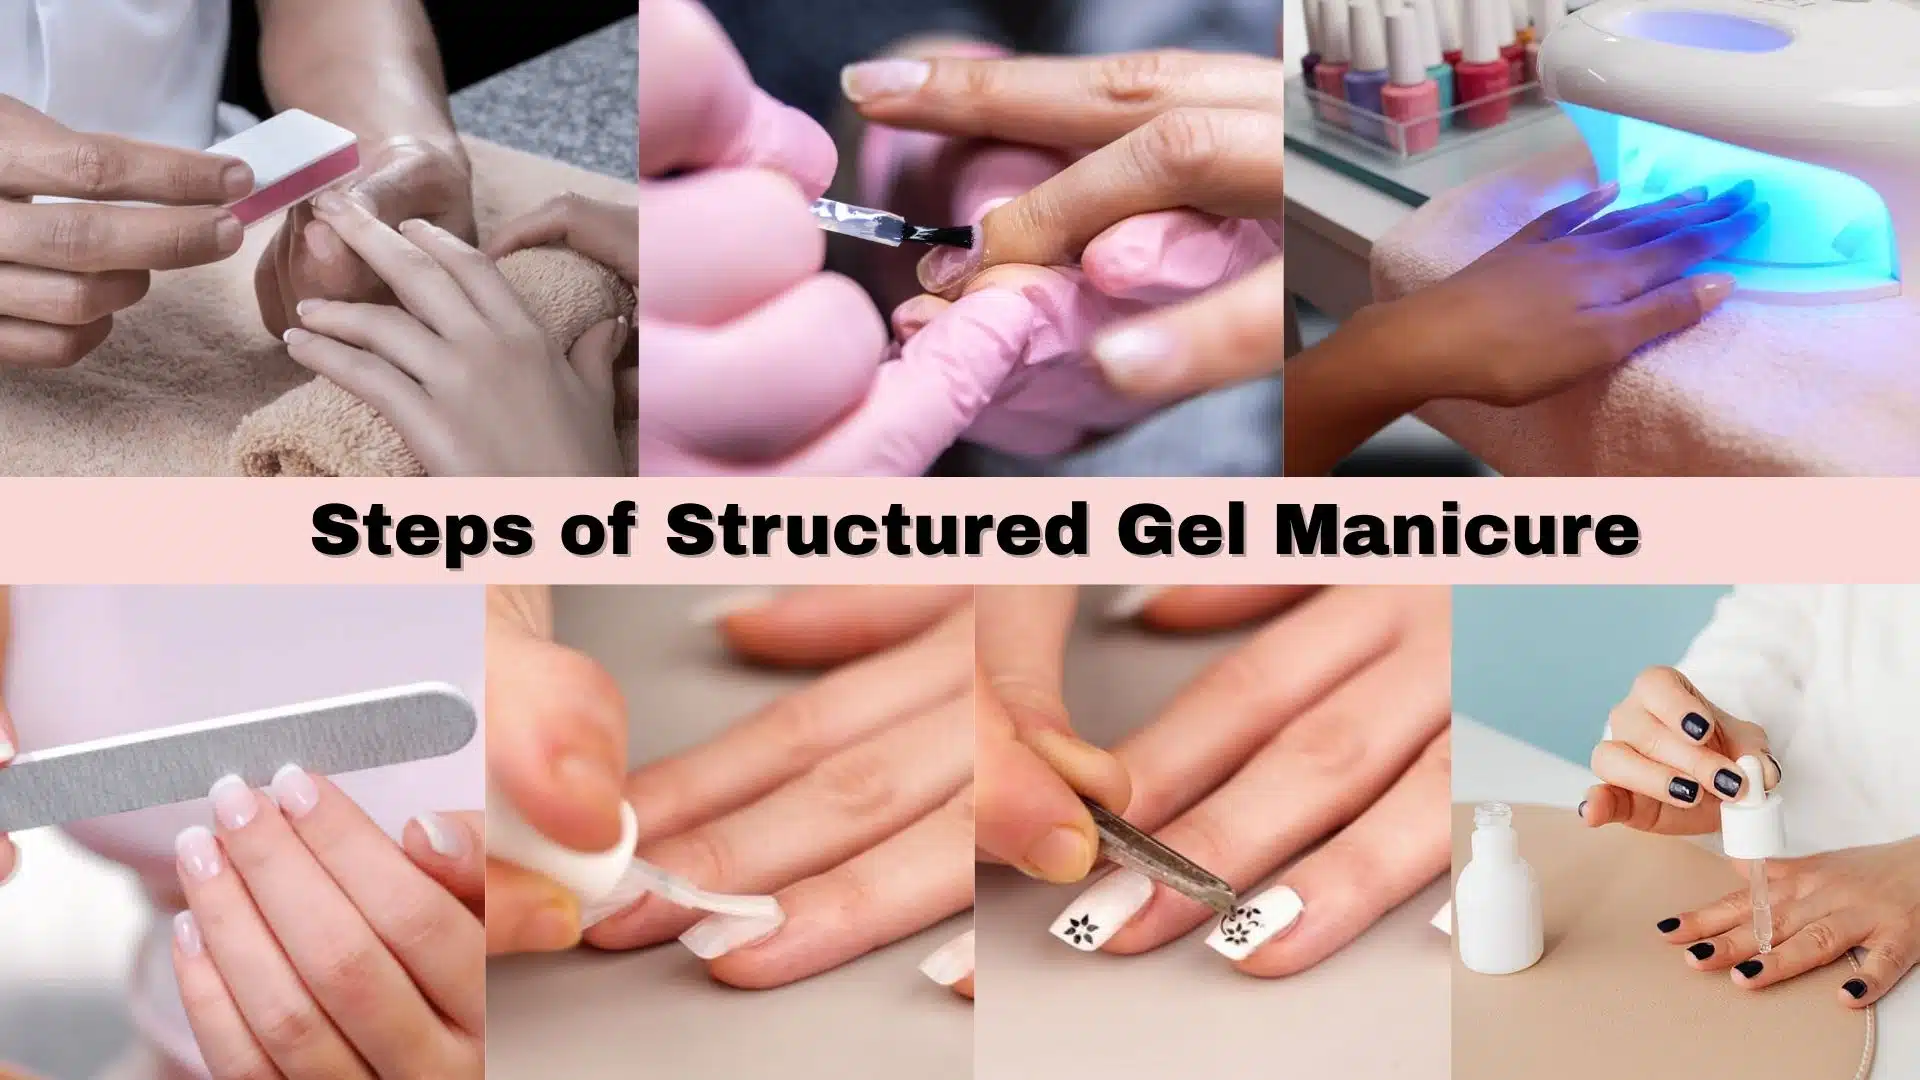
Getting a structured gel manicure follows a specific order. Each step builds on the last one. Missing a step or rushing through weakens the final result.
Here’s what happens from start to finish.
1. Nail Prep
The tech starts with a clean slate.
- Remove old polish: Any existing gel, regular polish, or debris must go. Acetone soaks off gel polish. Regular remover works for standard polish.
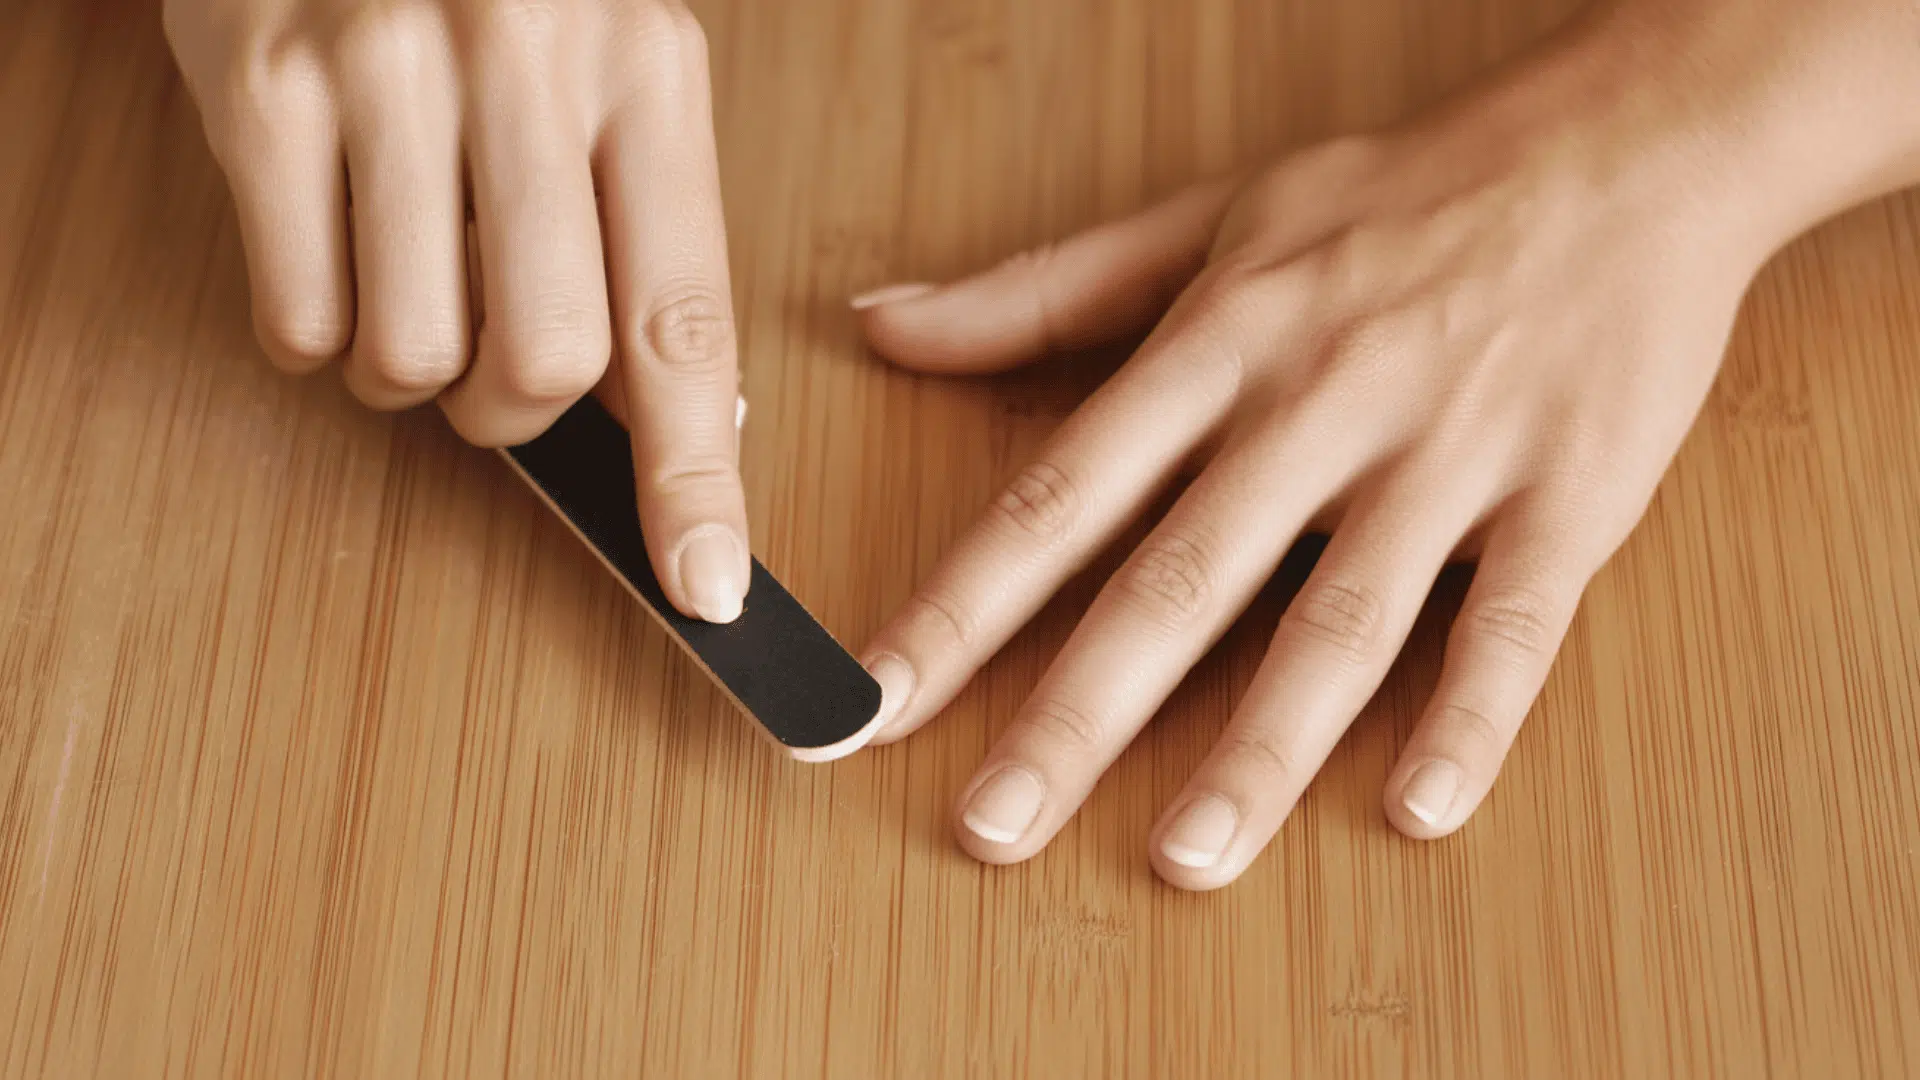
- Shape and file: The tech files your nails to your preferred length and shape. Square, round, almond, your choice. Light filing smooths rough edges.
- Cuticle care: Pushing back cuticles creates a clean work surface. The tech may trim excess skin. This prevents lifting later.
- Buff the surface: Light buffing removes shine from your nail plate. This helps the gel stick better. The nail feels slightly rough to the touch.
- Clean and degrease: Use alcohol or a special cleanser to remove oils. Some systems use a primer. This step is vital for adhesion.
2. Base Layer
A thin base coat goes on first.
This layer acts like glue between your nail and the structure gel. Some systems skip this step. Others require a specific primer. Follow your nail tech’s system.
The tech applies a thin, even coat. It covers the entire nail plate. Edges get special attention to prevent lifting.
Curing: The nails go under an LED or UV lamp. This hardens the base coat. Cure times vary by brand. Most take 30 to 60 seconds under LED.
3. Builder or Structured Gel Application
This is where the magic happens.
The tech applies the structure gel in thin layers. Each layer gets cured before the next goes on. Rushing creates bubbles or weak spots.
- Building the apex: The tech focuses gel at the center of your nail. This creates that protective curve. The apex sits about two-thirds down from your cuticle. It’s the highest point of the nail’s arch. The gel may self-level. Some techs sculpt it into place. Either way, the goal is a smooth curve. The gel should look natural, not lumpy.
- Multiple layers: Depending on your nail condition, you might need two or three layers. Each one cures under the lamp. Weak nails need more structure.
4. Refinement and Smoothing
After curing, the tech checks the surface. Some gels leave a sticky layer. The tech wipes this off with cleanser. Others curve to a smooth finish.
- Light filing: A fine-grit file smooths any bumps. The tech blends where the gel meets your natural nail. This creates smooth transitions. No one should feel ridges.
- Buffing: A buffer adds smoothness. The nail surface should feel even to the touch.
- Clean dust: A brush removes filing dust. Alcohol wipe gets rid of residue. Clean nails mean better color adhesion.
5. Color and Art Overlay
Now comes the fun part. The tech applies your chosen gel polish. Two coats give the best coverage. Each coat cures under the lamp. This prevents smudging.
- First coat: Goes on thin and even. It may look streaky. Don’t worry, the second coat fixes this.
- Second coat: Provides full color coverage. The tech cures this layer, too.
- Nail art: Want designs. Gems, stickers, and hand-painted details are all added after the color. Each element may need curing.
6. Hydration & Finish
The tech applies a top coat. This seals everything in. It adds shine and protects your color. The lamp cures this final layer.
- Remove residue: A cleanser wipes away any sticky layer. Your nails should feel smooth and dry.
- Cuticle oil: Hydration is key. The tech massages oil into your cuticles. This prevents dryness and keeps nails healthy.
- Moisturize: Hand cream finishes the service. Your hands feel soft.
- Final inspection: The tech checks edges and cuticles. Any stray gel gets cleaned up. Your manicure should look perfect.
7. Duration
Plan for extra time in the salon. A standard gel manicure takes 45 to 60 minutes. A structured gel manicure takes longer. Expect 60 to 90 minutes for a full service.
What affects timing:
- Number of layers needed
- Nail length and condition
- Whether you want nail art
- Experience level of your tech
- Type of gel system used
Book accordingly. Don’t schedule back-to-back appointments. Give yourself buffer time.
Benefits & Drawbacks of Structured Gel Manicure
Every manicure type has pros and cons. Structured gel is no different. Knowing both sides helps you make the right choice for your nails.
| Benefits | Drawbacks |
|
|
The benefits often outweigh the drawbacks for people with weak nails. But if you’re short on time or budget, regular gel polish might suit you better.
Comparison with Related Manicure Types
Confused about which manicure to get? You’re not alone. Structured gel competes with several other options. Each has unique features. Let’s break down how they compare.
1. Structured Gel vs. Regular Gel Polish
Regular gel polish is what most salons offer. But how does it stack up against structured gel? Here’s the side-by-side breakdown.
| Feature | Regular Gel Polish | Structured Gel |
|---|---|---|
| Thickness | Thin, like paint | Builds up the nail |
| Support | No structural support | Creates an apex curve for strength |
| Feel | Lighter, more flexible | Slightly thicker, stronger |
| Application time | 30-45 minutes | 60-90 minutes |
| Best for | Healthy, strong nails | Weak or damaged nails |
| Choose this when | You want quick service, a lighter feel, and have healthy nails | You need extra support, longer wear, and have nails that bend or break |
2. Structured Gel vs. Acrylic Nails
Acrylics have been around for decades. They’re still popular for extensions. But structured gel offers a different experience.
| Feature | Acrylic Nails | Structured Gel |
|---|---|---|
| Application | Powder and liquid mixture | Gel applied with a brush |
| Curing | Air-dries | LED or UV light |
| Odor | Strong chemical smell | Minimal odor |
| Feel | Very hard and rigid | Less rigid, more natural |
| Removal | File off or soak | Depends on gel type |
| Choose when | You want maximum strength, significant length, and don’t mind a strong smell | You prefer a lighter feel, are sensitive to odors, and want a more natural look |
3. Structured Gel vs. Dip Powder
Dip powder gained popularity for its quick application. But it works differently from a structured gel. Here’s what sets them apart.
| Feature | Dip Powder | Structured Gel |
|---|---|---|
| Application | Dip nails into colored powder | Paint on with a brush |
| Curing | No lamp needed | LED or UV light required |
| Control | Less precise placement | Precise apex control |
| Drying time | Fast, air-dries | Instantly with a lamp |
| Feel | Powder texture builds up | Smooth gel finish |
| Choose when | You want fast drying, no UV lamps, and prefer powder application | You want precise apex control, like gel polish feel, and don’t mind lamp time |
Each option has its place. Your choice depends on your nail health, lifestyle, and personal preferences. Still unsure? Ask your nail tech to explain what works best for your specific situation.
Tips for Getting a Structured Gel Manicure
You’ve decided to try structured gel. Smart move. But getting great results takes more than just showing up. Follow these tips to make your manicure last longer and keep your nails healthy.
- Communicate your goals: Tell your tech if you want length, strength, or just color protection. They’ll adjust the application method.
- Don’t skip cuticle oil: Use it daily at home. Hydrated cuticles mean better retention. Dry skin causes lifting at the edges.
- Book fills every 3-4 weeks: As nails grow, the apex shifts. Regular maintenance keeps the structure effective.
- Avoid using nails as tools: Don’t try to open cans or scratch off stickers. Even a structured gel has limits.
- Remove properly: Never peel or pick off gel. This damages your natural nail. Always soak or file professionally.
- Give your nails breaks occasionally: After several months of gel, let nails breathe. A week without polish helps them recover.
- Watch for allergic reactions: Some people react to gel ingredients. Redness, itching, or burning means stop immediately.
Final Takeaway
Structured gel manicures give weak nails the support they need. That apex curve isn’t just for show. It prevents breaks and makes your manicure last three to four weeks.
Worth the extra time at the salon? Absolutely. Your nails stay strong as they grow out. No more weekly touch-ups or emergency repairs.
This technique bridges the gap between regular gel and full extensions. You get strength without the bulk.
Ready to stop dealing with chipped polish? Find a skilled nail tech who specializes in structured gel. Ask about their experience and which gel type they recommend for you.
Have you tried structured gel yet? Drop a comment below and share your experience with us!


One Response
HWDCBW