Let’s be honest. When was the last time you cleaned your makeup brushes?
If you’re cringing right now, you’re not alone. Most of us use our brushes daily without thinking about what’s building up on those bristles.
Spoiler alert: it’s not pretty. We’re talking bacteria, old makeup, oils, and dead skin cells. Yuck.
Here’s the thing. Cleaning your brushes doesn’t have to be a chore. You don’t need fancy products or a ton of time. In fact, you probably have everything you need sitting in your kitchen or bathroom right now.
Ready to give those brushes some love? Let’s walk through how to clean makeup brushes the easy way, step by step. Your skin (and your makeup routine) will thank you.
What Happens If You Don’t Clean Your Brushes Regularly?
Skipping brush cleaning isn’t just about hygiene. It actually affects your skin and how your makeup looks.
1. Your Skin Pays the Price
Dirty brushes are a breeding ground for bacteria. Every time you use an unwashed brush, you’re transferring oils, dirt, and germs directly onto your face. This can lead to clogged pores, breakouts, and even skin infections.
If you’ve been dealing with acne that won’t go away, your brushes might be the culprit. Think about it. You’re applying fresh makeup with a tool that’s covered in yesterday’s bacteria. Not a great combo.
People with sensitive skin have it even worse. Dirty brushes can cause redness, irritation, and allergic reactions. Your skin works hard to stay healthy, so why make its job harder?
2. Your Makeup Application Suffers
Beyond skin issues, grimy brushes just don’t work well. Product buildup makes bristles stiff and clumpy. This means your foundation goes on streaky, your blush looks patchy, and your eyeshadow won’t blend properly.
Clean brushes pick up and distribute product evenly. Dirty ones? They push around old makeup instead of applying a new color. You end up using more product and getting worse results.
Plus, your brushes won’t last as long. Buildup breaks down the bristles over time, making them shed and lose their shape.
Now that you know why cleaning matters, let’s talk about what you can actually use to get those brushes sparkling clean.
Common Products to Clean Makeup Brushes
Good news. You don’t need to buy expensive brush cleaners. The products you need are probably already in your home. Let’s look at what actually works.
1. Soap
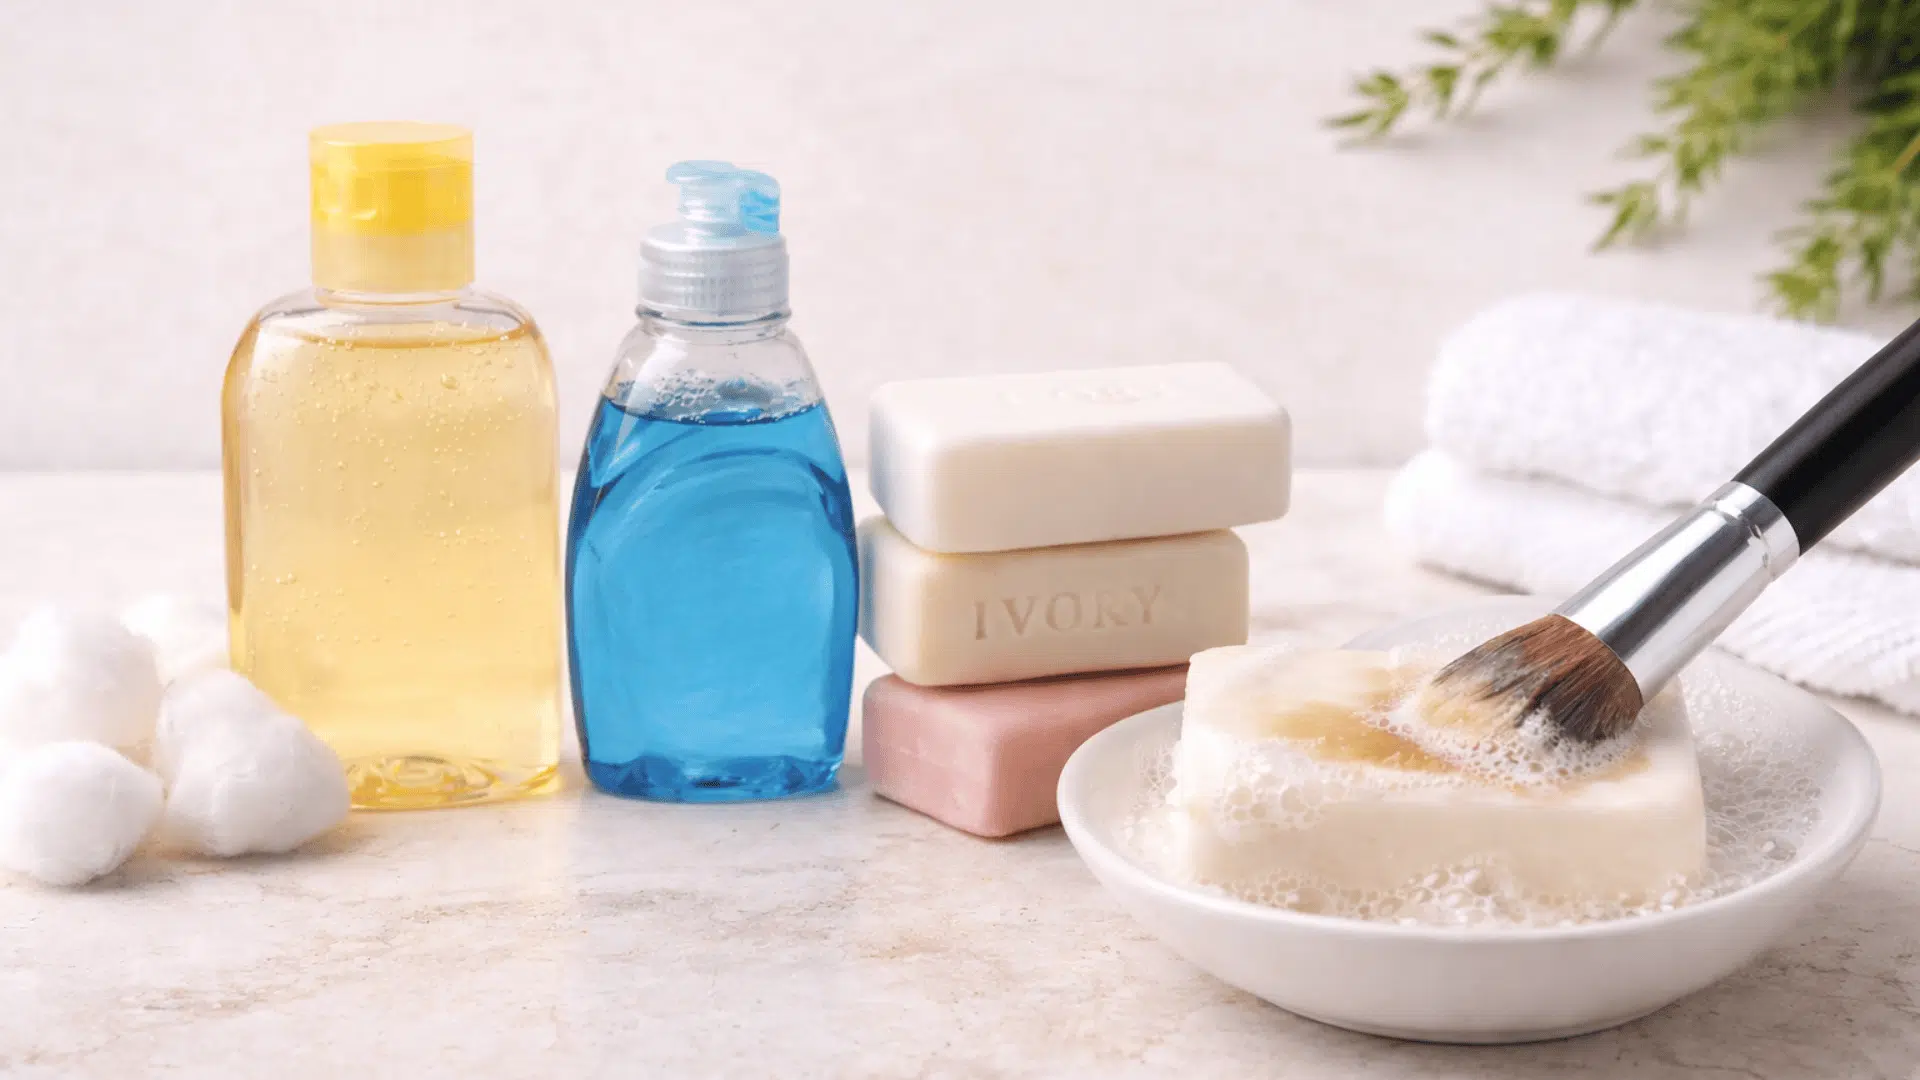
Regular soap is your best friend when it comes to cleaning makeup brushes. But not all soaps are created equal.
Gentle cleansers work best. Baby shampoo is a favorite because it’s mild and won’t damage delicate bristles. It cuts through makeup without being harsh on natural or synthetic fibers.
Dish soap is another great option. A tiny drop of Dawn or any gentle dish soap mixed with water does wonders. It breaks down oils and stubborn makeup buildup quickly. Just use it sparingly since dish soap can be strong.
Bar soap works too. Dove, Ivory, or even Castile soap bars get the job done. Swirl your wet brush directly on the bar, work up a lather, and rinse. Simple and effective.
The key? Stick with fragrance-free or lightly scented options. Your face doesn’t need extra perfumes or harsh chemicals.
2. DIY Options
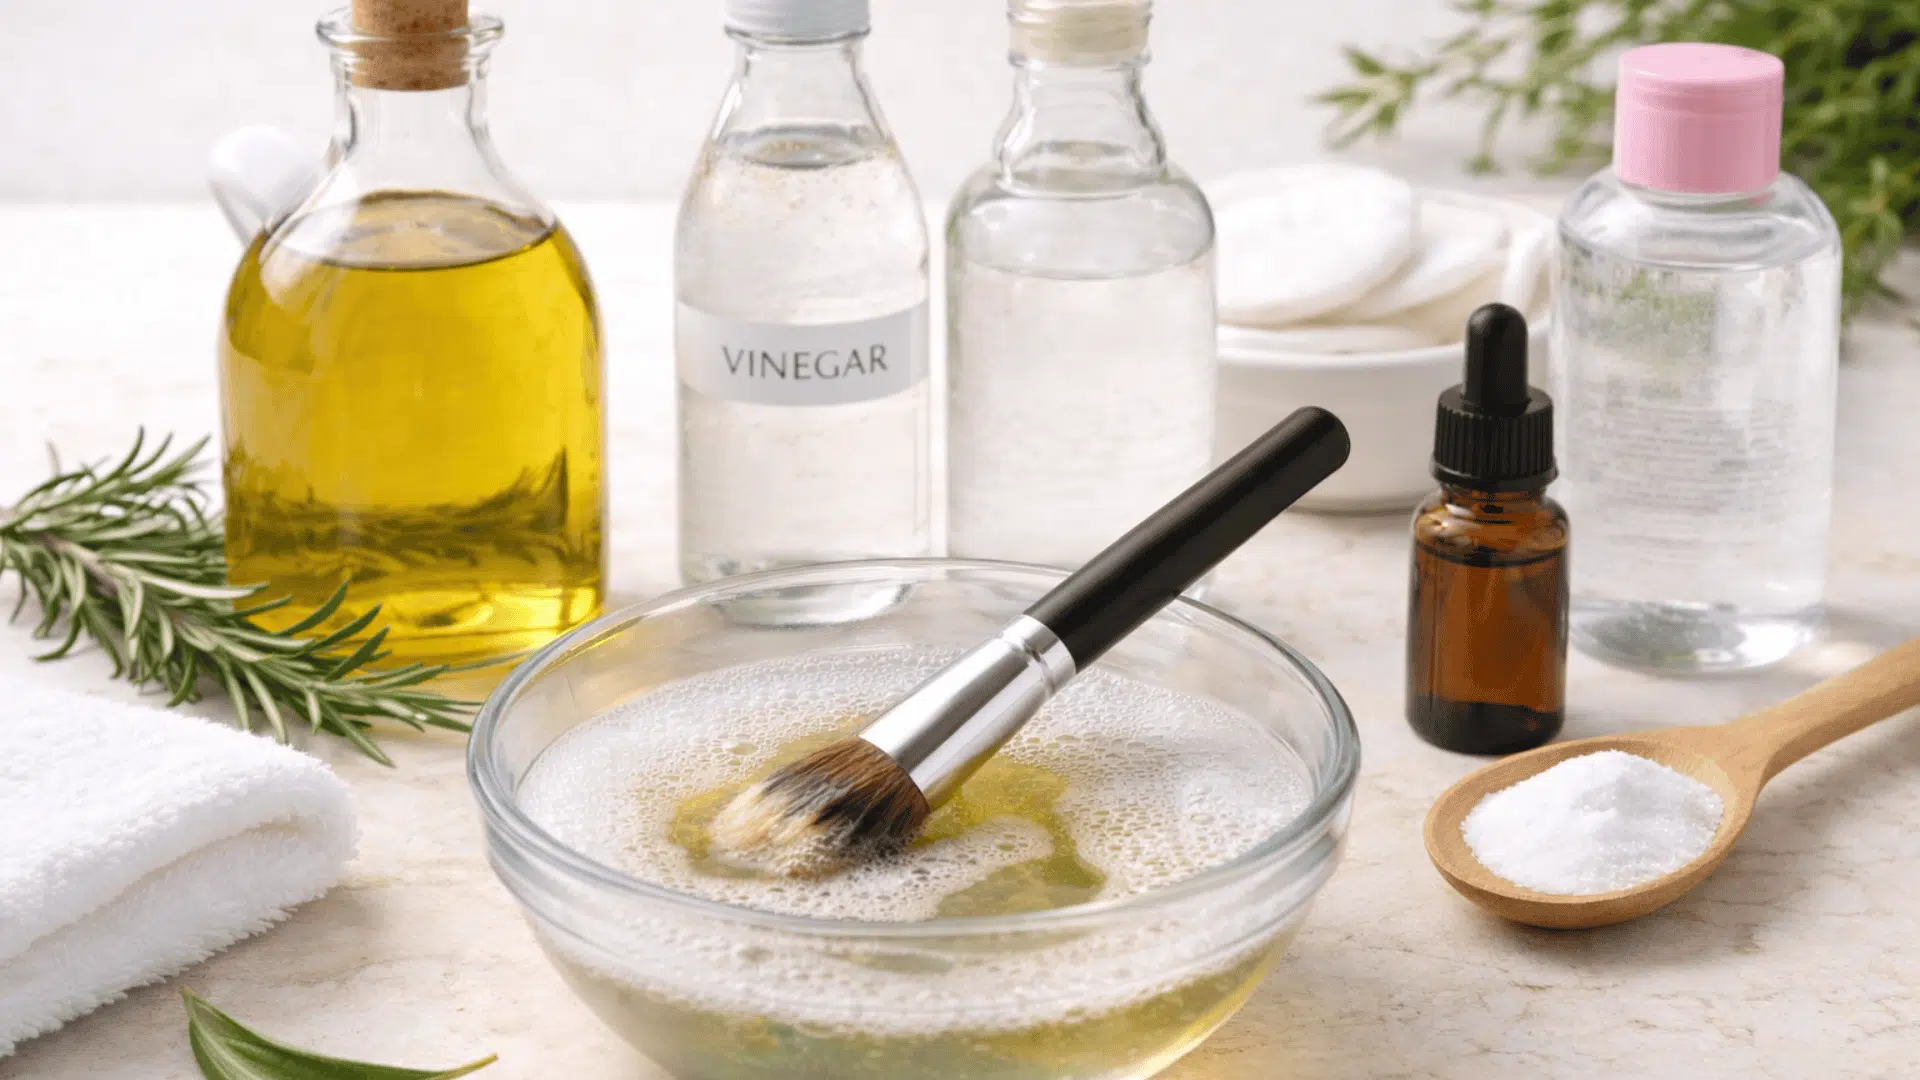
Want to make your own brush cleaner? Here are some easy homemade solutions:
- Olive oil and dish soap: Mix one part olive oil with two parts dish soap. The oil breaks down stubborn makeup while the soap cleans the bristles.
- White vinegar solution: Combine equal parts water and white vinegar for a disinfecting rinse. Just rinse thoroughly afterward.
- Tea tree oil boost: Add a few drops to your soap mixture for natural antibacterial properties and a fresh scent.
- Micellar water: Great for quick cleans between deep washes. Pour some on a paper towel and swipe your brush back and forth.
Now that you’ve got your cleaning products ready, let’s get into the actual cleaning process.
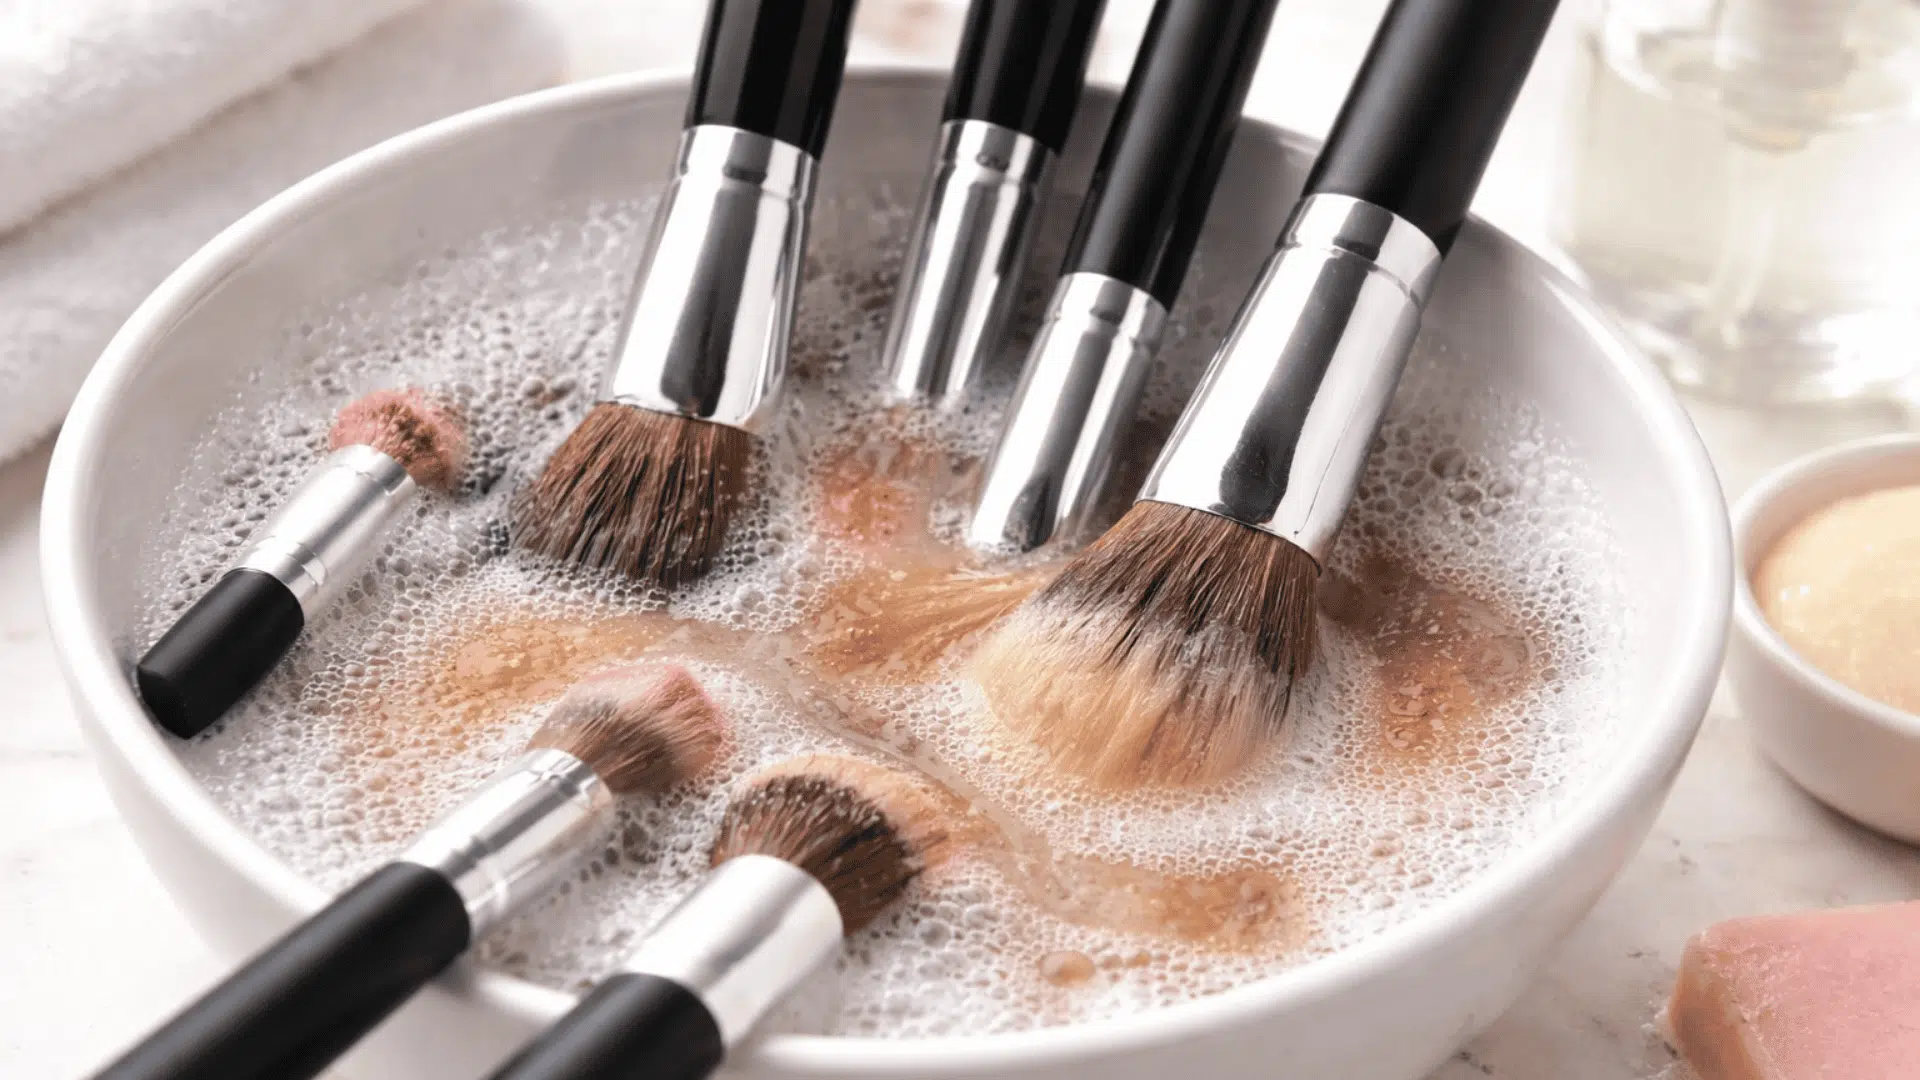
Step-by-Step Process to Clean Makeup Brushes
Ready to actually clean those brushes? This method works whether you’re using soap, baby shampoo, or a DIY cleaner. It’s simple and takes about 5 minutes per brush.
Step 1: Wet the bristles- Run your brush under lukewarm water. Point the bristles downward so water doesn’t seep into the handle. Getting water in the ferrule (the metal part) can loosen the glue and cause shedding.
Step 2: Apply your cleanser- Put a small amount of soap or cleanser in your palm or a small bowl. Swirl the wet brush into the cleanser until it starts to lather.
Step 3: Work out the makeup- Gently massage the bristles in circular motions. You can use your palm, fingers, or a textured cleaning mat. You’ll see the makeup color washing out. Keep going until the water runs clear.
Step 4: Rinse thoroughly- Hold the brush under running water again, bristles pointing down. Squeeze gently as you rinse to remove all soap residue. Any leftover soap can irritate your skin later.
Step 5: Squeeze out excess water- Gently squeeze the bristles from base to tip with a clean towel. Don’t twist or pull. Just press and squeeze.
Step 6: Reshape and dry- Reshape the bristles to their original form. Lay brushes flat on a clean towel with the bristles hanging off the edge of a counter. This lets air circulate and prevents water from dripping into the handle.
Here’s a quick flowchart to help you remember:
Wet bristles (point down) ↓ Apply cleanser and lather ↓ Massage and clean out makeup ↓ Rinse until the water runs clear ↓ Squeeze out excess water ↓ Reshape bristles ↓ Lay flat to dry |
Cleaning frequency depends on what type of brush you’re using and how often you apply makeup. Brushes that touch liquid products need more frequent washing than powder brushes. Here’s a simple schedule to follow:
- Foundation and concealer brushes: Clean after every use or at least once a week
- Eyeshadow and blush brushes: Clean every 1-2 weeks
- Powder brushes: Clean every 2 weeks
- Makeup sponges: Clean after every single use
- Eyeliner and lip brushes: Clean after every use to prevent eye infections and bacteria transfer
If you have acne-prone or sensitive skin, clean all brushes more frequently. Daily cleaning might seem like overkill, but your skin will show the difference.
Brushes aren’t the only tools that need attention. If you use makeup sponges, they need special care too.
How to Clean Makeup Sponges?
Makeup sponges are a bit different from brushes. They soak up way more product, which means they also trap more bacteria. The good news? They’re actually easier to clean.
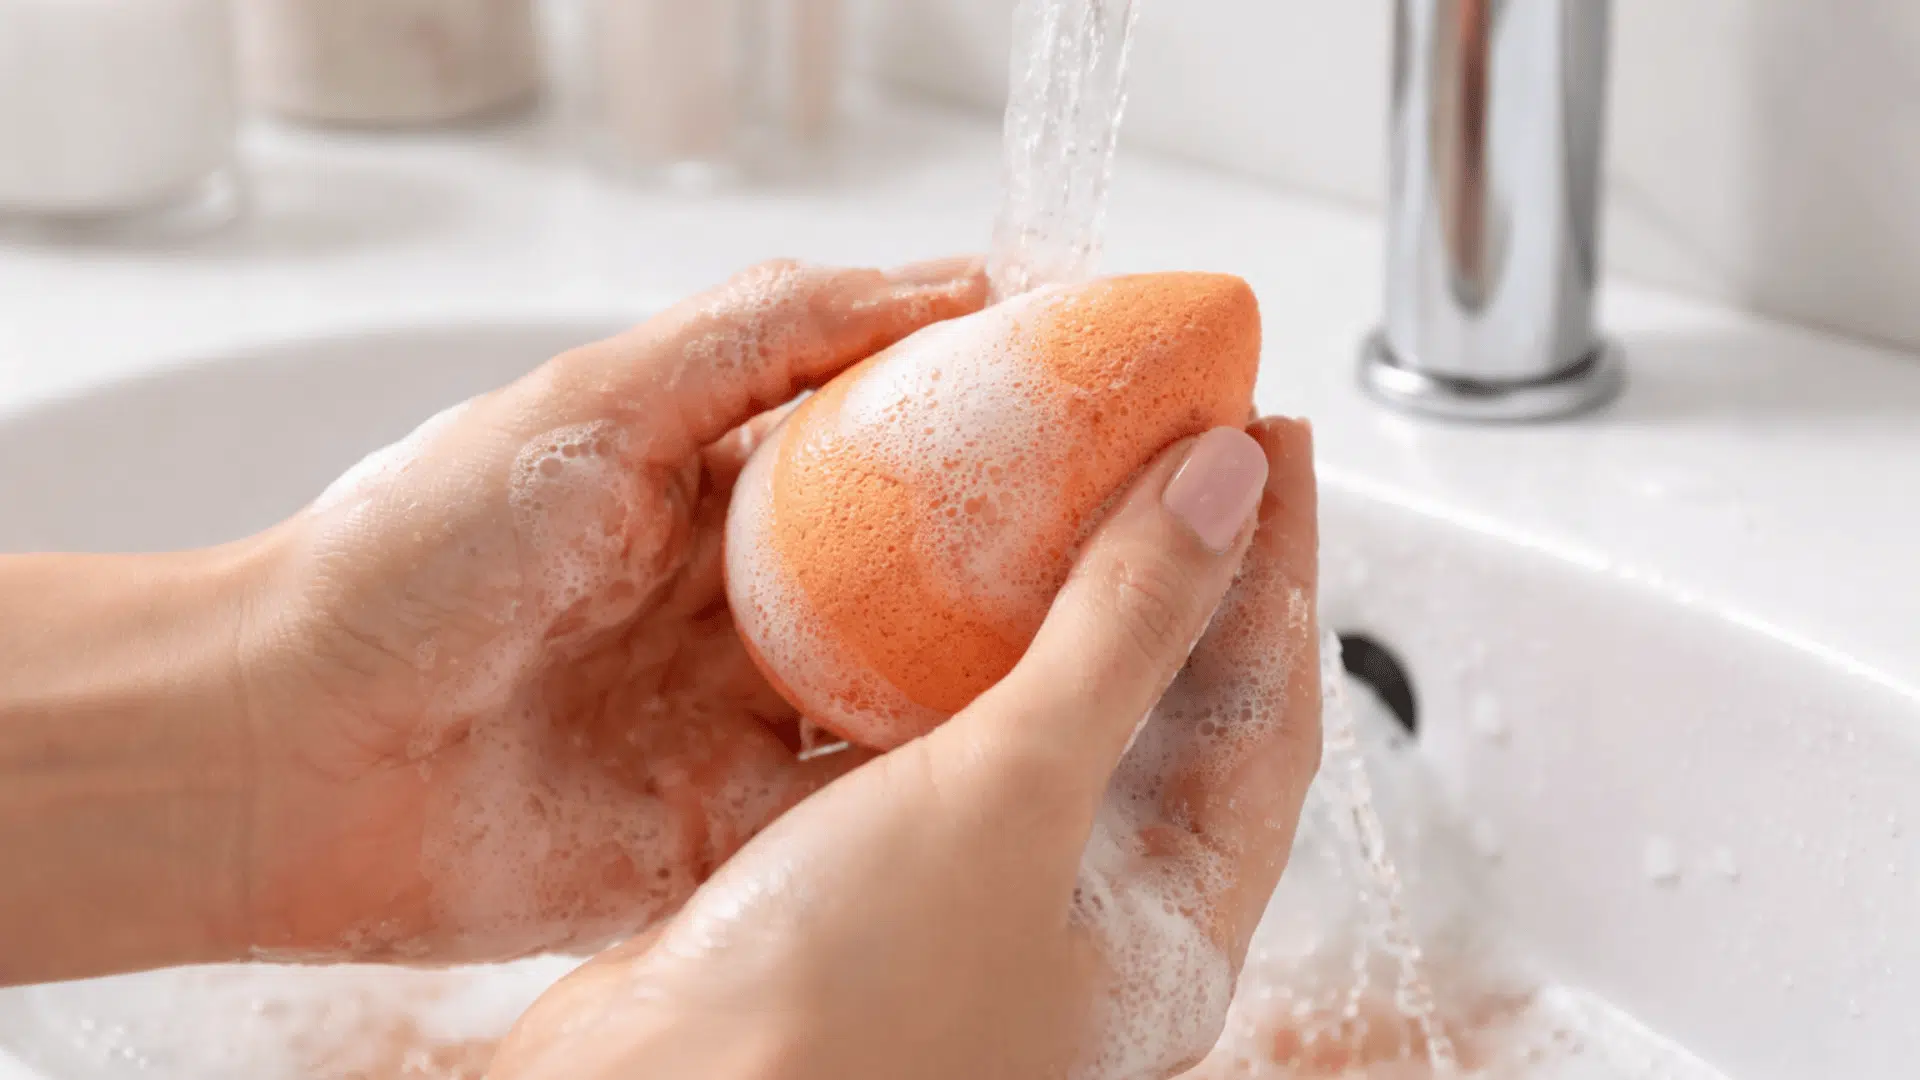
The Basic Sponge Cleaning Method
Start by running your sponge under warm water until it’s completely soaked. Apply a small amount of soap directly to the sponge. Baby shampoo, gentle dish soap, or bar soap all work well.
Squeeze and massage the sponge repeatedly. You’ll see makeup pouring out in the water. Keep squeezing until the water runs clear and no more color comes out. Rinse thoroughly and squeeze out as much water as you can.
Let it air dry completely in a well-ventilated area. Never store a damp sponge in a closed container or makeup bag. That’s how mold and bacteria grow.
Quick Tip: Want to deep clean? Soak your sponge in soapy water in a microwave-safe bowl and microwave for 30 seconds to one minute. The heat kills bacteria. Just make sure the sponge is fully wet, or it will melt.
How Often to Clean Sponges?
Unlike brushes, sponges need cleaning after every single use. No exceptions. They hold moisture, which creates the perfect environment for bacteria to multiply fast.
If you use your sponge daily, plan to replace it every 1-3 months, depending on how often you wash it and how well you care for it. Some makeup artists replace theirs monthly just to be safe.
Now that your tools are clean, let’s make sure you’re not making mistakes that could ruin them.
What Not to Do When Cleaning Makeup Brushes?
Cleaning your brushes seems simple, but a few common mistakes can actually damage them or make them less effective. Here’s what to avoid:
- Don’t use hot water: Hot water breaks down the glue that holds bristles in place. Stick to lukewarm or cool water instead.
- Don’t soak the entire brush: Never submerge your brush in water. Water seeping into the ferrule (the metal part) loosens the glue and causes bristles to fall out. Only wet the bristles themselves.
- Avoid harsh chemicals: Skip the rubbing alcohol, bleach, or harsh household cleaners. These strip natural oils from bristles and can cause skin irritation. Gentle soap is all you need.
- Don’t stand brushes upright while wet: Storing wet brushes upright in a cup lets water drip into the handle. This weakens the glue and promotes bacterial growth. Always lay them flat to dry with bristles hanging off the counter edge.
- Skip the hair dryer: Blow dryers, radiators, or direct sunlight can melt glue, warp bristles, and damage the brush shape. Air drying is the only safe option.
- Don’t twist or pull bristles: When squeezing out water, be gentle. Twisting and pulling can break bristles and ruin the brush shape.
Even with proper care, your brushes won’t last forever. Let’s talk about when it’s time to replace them.
When to Replace Your Makeup Brushes?
Even with the best cleaning routine, makeup brushes don’t last forever. Knowing when to replace them keeps your makeup application smooth and your skin healthy.
| Sign That It’s Time to Replace | What It Means |
|---|---|
| Bristles are shedding constantly | The glue has broken down. You’ll end up with bristles all over your face. |
| The brush has lost its shape | Once the bristles splay out or no longer hold their form, the brush won’t apply makeup properly. |
| Bristles feel rough or scratchy | Damaged bristles can irritate your skin and won’t blend products smoothly. |
| You can’t get it clean anymore | If makeup stains won’t come out after washing, bacteria are trapped deep in the bristles. |
| The ferrule is loose or wobbly | This means the glue is failing. The brush head could fall off completely. |
| It smells bad even after washing | Bacteria buildup that won’t wash out is a health risk. Time to toss it. |
Let’s wrap up everything you’ve learned about keeping your makeup tools fresh and clean.
Conclusion
Learning how to clean makeup brushes doesn’t have to be complicated or expensive. With just soap, water, and a few minutes of your time, you can keep your tools fresh and your skin clear.
Remember to clean foundation brushes weekly, avoid hot water, and always dry your brushes flat. Don’t forget about those sponges either. They need daily cleaning to stay bacteria-free.
Clean brushes mean better makeup application and healthier skin. It’s a small habit that makes a big difference.
So grab those dirty brushes and give them the wash they’ve been waiting for. Your face will thank you.
Got any brush cleaning tips or tricks? Drop them in the comments below. We’d love to hear what works for you!