We’ve all been there, babe. Your acrylics looked stunning three weeks ago, but now they’re lifting, grown out, and honestly?
A little rough around the edges. You want them off yesterday, but your salon is fully booked. So what do you do?
Here’s what you don’t do: pick, peel, or bite them off. Trust me, your natural nails will hate you for it.
In this blog, I’ll show you exactly how to remove acrylic nails safely at home.
We’ll cover the acetone method, acetone-free options, and everything in between.
What You’ll Need for Acrylic Nail Removal

Before you start, gather your supplies. Having everything ready makes the process so much smoother. Nothing worse than realizing you’re out of foil mid-removal, right?
Here’s your removal toolkit:
- Nail clippers: You’ll need these to trim down the acrylic length first.
- Coarse nail file (80-100 grit): This buffs away the shiny top layer so acetone can penetrate.
- 100% pure acetone: The real MVP that breaks down the acrylic.
- Cotton balls or pads: For soaking and applying the acetone.
- Aluminum foil: Cut into small squares to wrap your fingertips.
- Cuticle pusher or orangewood stick: For gentle scraping of softened acrylic.
- Petroleum jelly: Protects the skin around your nails from drying out.
- Cuticle oil and hand cream: Essential for aftercare and rehydration.
Quick tip: Always use 100% pure acetone, not regular nail polish remover. The diluted stuff takes forever and won’t break down the acrylic properly. Your patience will thank you later.
How to Remove Acrylic Nails at Home with Acetone
Alright, gorgeous, this is the gold standard method. It’s what salons use, and it works like a charm when done right. The key? Patience. Rushing this process is how nails get damaged.
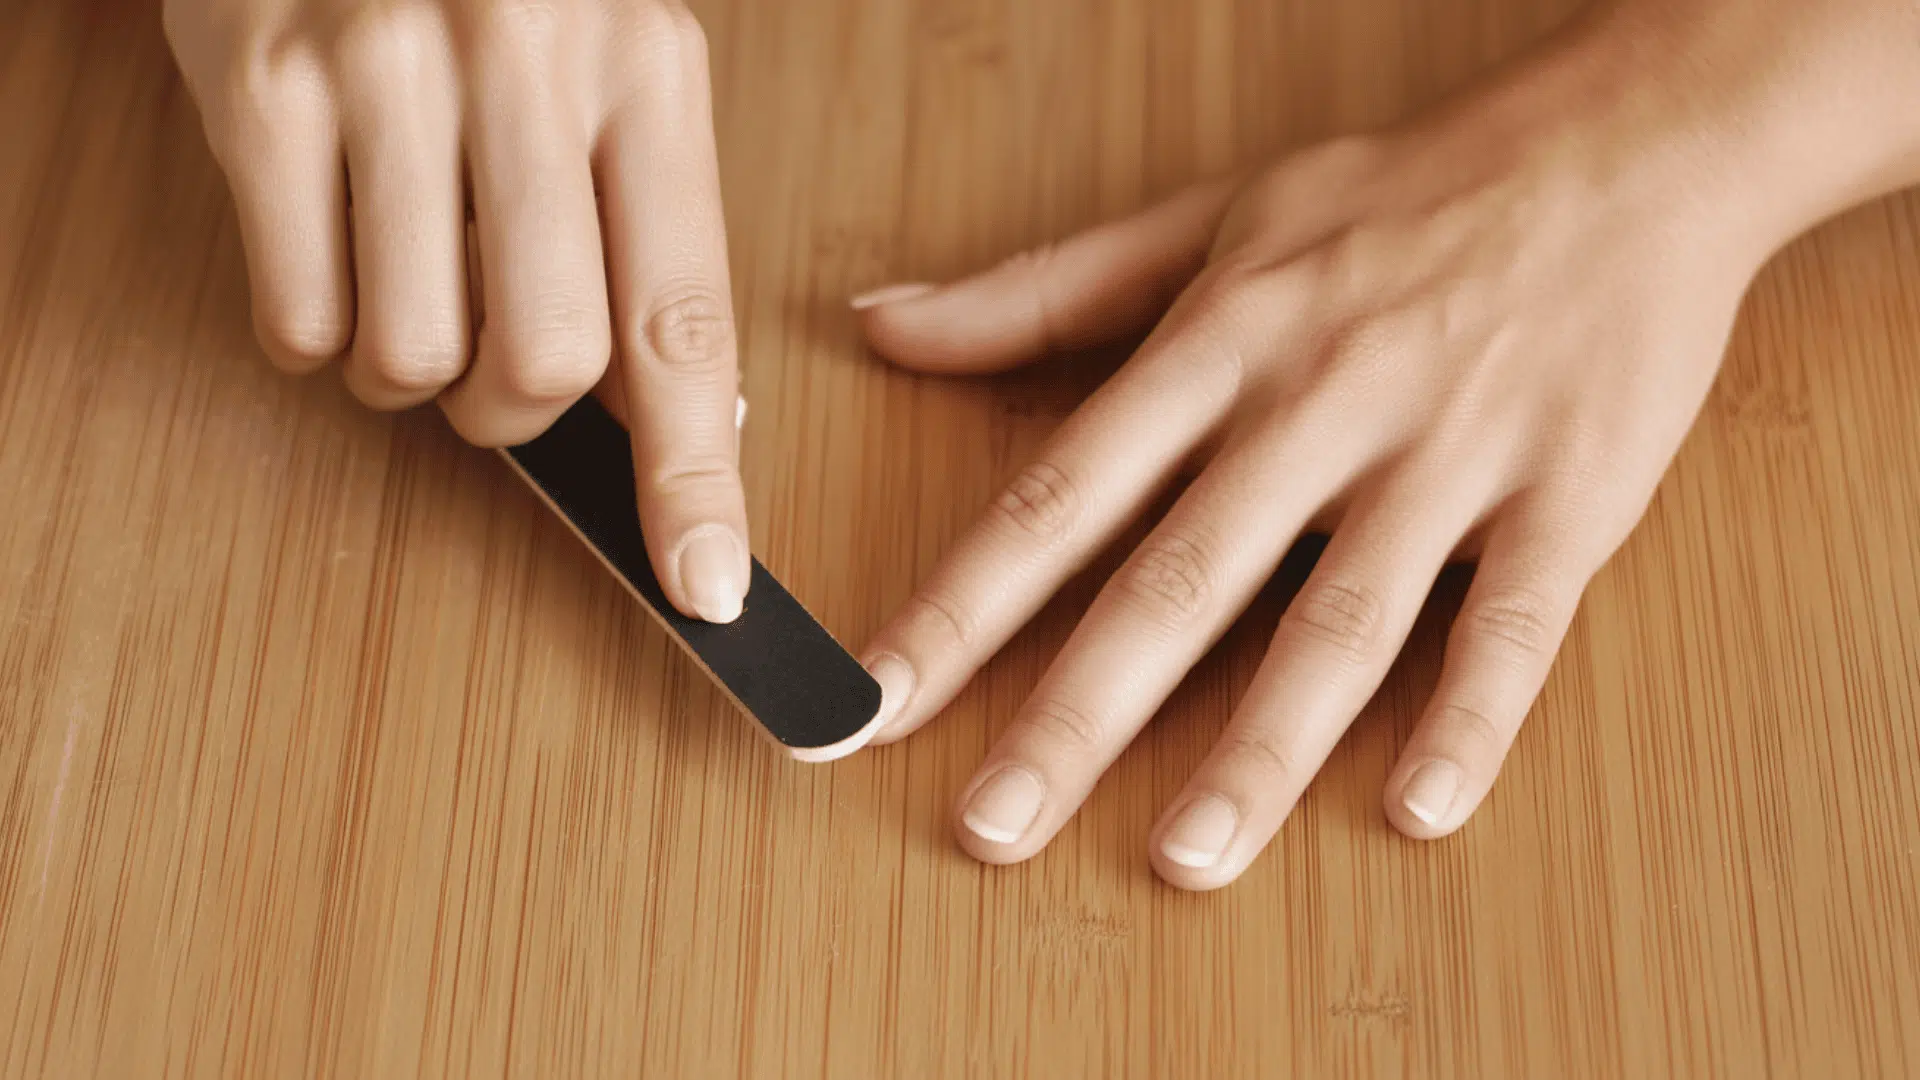
Step 1: Trim and File Down
Start by clipping your acrylics as short as possible. Get them close to your natural nail length without cutting into the real thing. Next, grab your coarse nail file and buff away the shiny top layer.
File in one direction using long, gentle strokes. This step is crucial because it breaks the seal and lets the acetone soak in faster. Skip this, and you’ll be waiting forever.
Step 2: Protect Your Skin
Acetone is drying. Like, really drying. Before soaking, apply petroleum jelly generously around your cuticles and the skin surrounding your nails.
Think of it as a little barrier that says, “Acetone, stay away from my skin, please.” Your fingers will thank you later.
Step 3: The Foil Wrap Method

This is the technique nail techs swear by. Soak a cotton ball in acetone until it’s completely drenched.
Place it directly on top of your nail, making sure the whole surface is covered. Then wrap your fingertip tightly with a small square of aluminum foil. Repeat on all ten fingers.
Now here’s the hard part: sit still for 20 to 30 minutes. Binge an episode of your favorite show. Scroll through TikTok. Just don’t peek every two minutes because removing the foil lets air in and slows everything down.
Step 4: Gently Remove the Acrylic
After 20 to 30 minutes, unwrap one finger and check the progress. The acrylic should look gooey and lifted.
Use your cuticle pusher to scrape it off gently. If it’s not budging, rewrap and wait another 10 minutes. Never force it. Forcing means damage, and we don’t do damage around here.
Not a fan of acetone? No stress. There are gentler alternatives worth trying.
How to Remove Acrylic Nails Without Acetone?
Not everyone loves acetone. Maybe it irritates your skin, or the smell gives you a headache. Totally valid.
There are gentler alternatives, though honestly, they require way more time and patience. These methods work, but they’re not the most effective option out there.
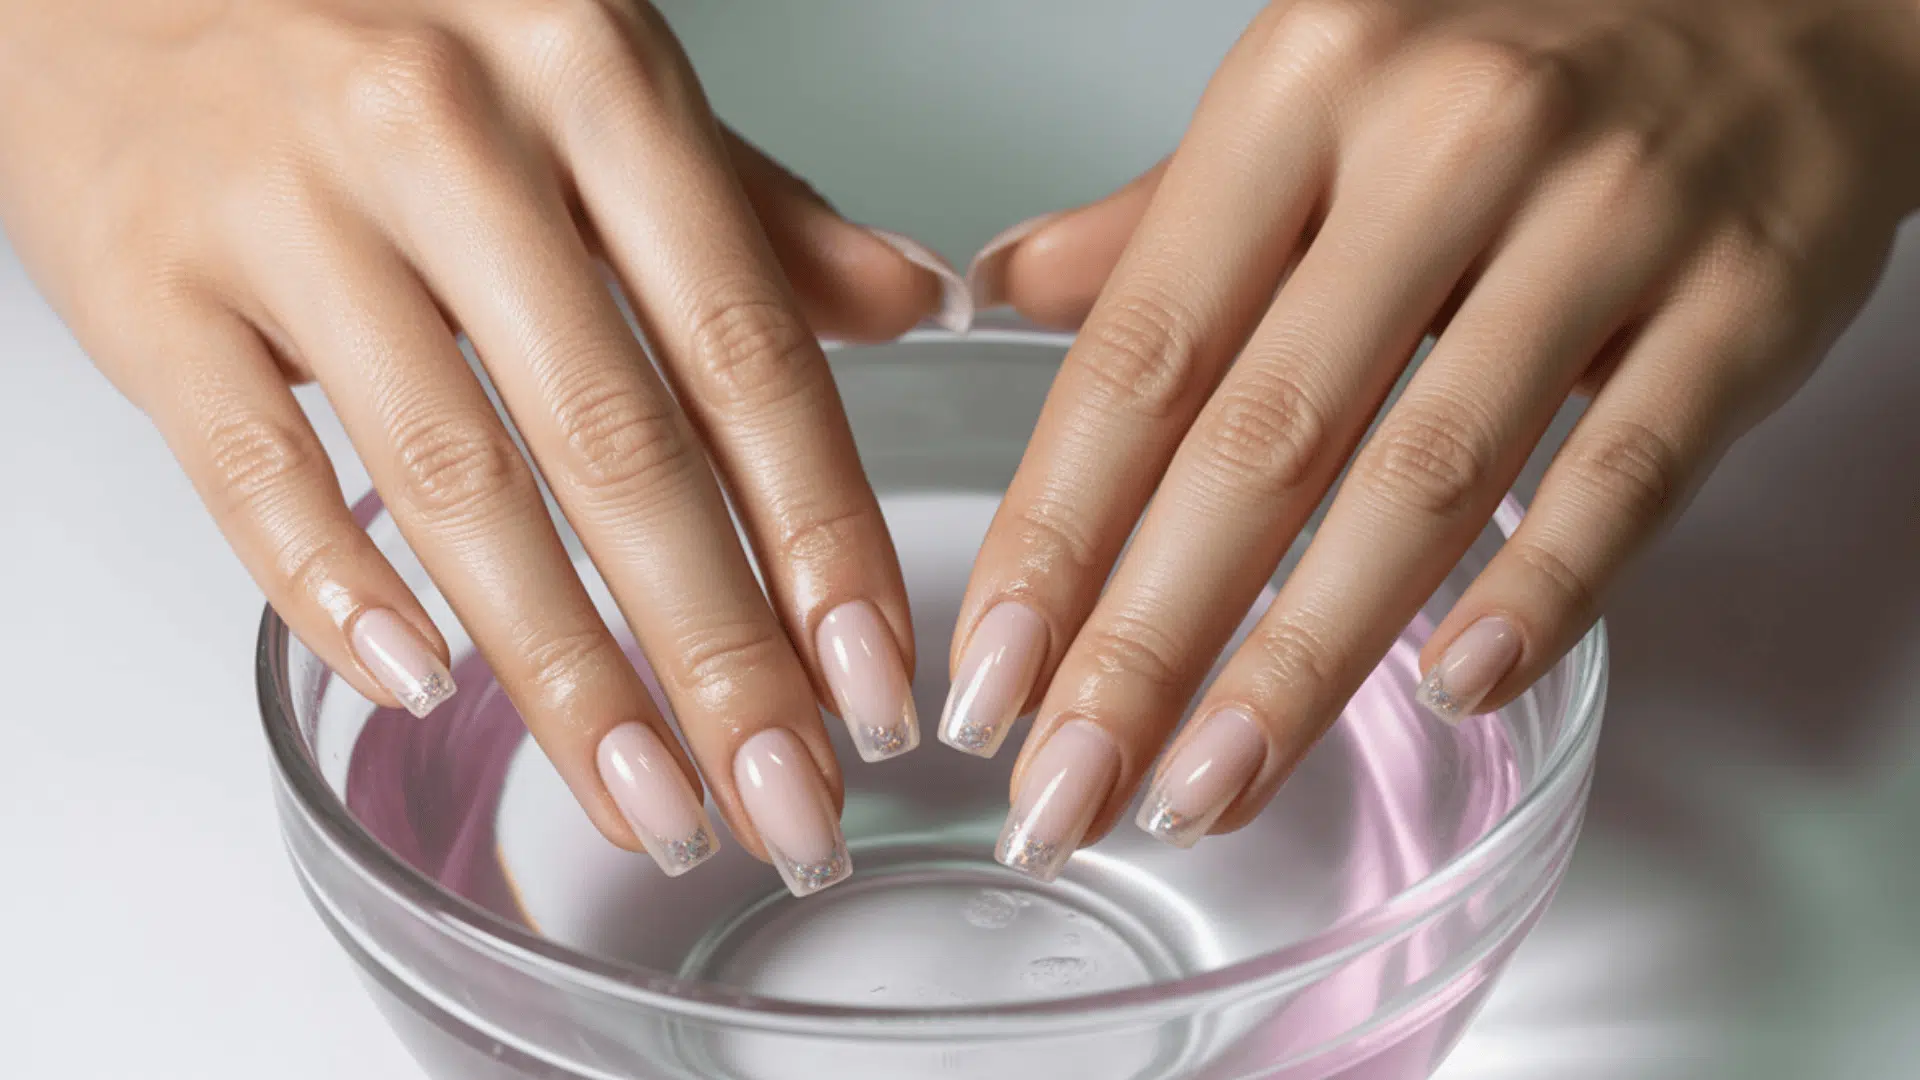
1. Warm Soapy Water Method
Fill a bowl with warm water and add dish soap. Soak your nails for 30 to 40 minutes while wiggling your fingers occasionally.
The soap helps break down the adhesion between acrylic and natural nail. Once things loosen up, gently lift the edges with an orangewood stick.
Still stuck? Keep soaking.
2. Cuticle Oil Method
Press oil-soaked cotton balls against each nail for five minutes. Wrap with foil for faster results. This works best on acrylics that are already lifting a bit.
Bonus: your cuticles get some hydration in the process, too.
3. Acetone-Free Nail Polish Remover
These contain gentler solvents and require about 40 minutes of soaking. Less drying on skin, but definitely a slower process overall.
Quick reality check: dental floss and credit card hacks look fun on TikTok, but risk serious nail damage. Not worth it.
Curious how the pros handle removal? Here’s what actually happens at the salon.
How Do Salons Remove Acrylic Nails?
Ever wondered what happens when you pay a professional to handle removal?
Honestly, the process isn’t wildly different from the at-home method. The main difference is better tools, stronger products, and trained hands doing the work.
Here’s the typical salon process:
- Assessment: The nail tech checks your acrylics for lifting, cracks, or any damage before starting.
- Filing down: They buff away the top layer using a coarse file or an electric nail drill called an e-file. This breaks the seal and helps acetone penetrate faster.
- Acetone soak: Your nails get wrapped or soaked in professional-grade acetone, which is stronger than drugstore versions.
- Gentle removal: Once the acrylic turns soft and gooey, the tech pushes it off with proper tools. No forcing. No aggressive scraping.
- Finishing touches: They buff your natural nails smooth, apply cuticle oil, and moisturize your hands.
The whole process takes about 20 to 30 minutes and costs anywhere from $12 to $39, depending on location. Sometimes letting the pros handle it is just the smarter move.
But what if you’re doing this yourself? How long should you actually soak those nails? Let’s break it down.
How Long Should You Soak Acrylic Nails in Acetone?
This is probably the most asked question about acrylic removal. And honestly? There’s no single magic number. But here’s a general guideline to work with.
For most acrylics, soaking for 20 to 30 minutes does the trick. That’s usually enough time for the acetone to break down the product and turn it soft enough to push off.
However, thicker sets or older acrylics might need 30 to 40 minutes. Patience is everything here.
A few factors affect soak time:
- Acrylic thickness: Thicker layers need longer soaking.
- Filing beforehand: Buffing that top layer off speeds things up significantly.
- Acetone strength: Pure 100% acetone works faster than diluted formulas.
- Product quality: Salon-grade acrylics sometimes take longer to break down.
Check progress every 10 to 15 minutes. If the acrylic still feels hard, rewrap and keep waiting. Rushing leads to scraping, and scraping leads to damaged nails. Nobody wants that.
Aftercare Tips for Healthy Nails Post-Removal

Congratulations, the acrylics are finally off! But hold up. The work isn’t done yet. Your natural nails just went through a lot, and they need some serious care right now.
Skipping aftercare is like doing a full workout and never stretching. Expect weak, brittle nails that break at the slightest touch.
Here’s how to nurse those nails back to gorgeous health:
1. Wash and Trim First
Start by washing your hands thoroughly to remove all acetone residue. That stuff lingers and keeps drying out skin if left behind. Next, trim any weak or papery parts of your nails.
Those damaged tips will break anyway, so starting fresh makes more sense.
2. Moisture is Non-Negotiable
Because they literally do. Apply cuticle oil generously twice a day for at least two weeks.
Look for oils containing jojoba, vitamin E, or sweet almond oil. CND Solar Oil is a nail tech favorite that works wonders. Massage it into your nail beds and cuticles to boost circulation and encourage healthy growth.
3. Use a Nail Strengthener
Products with keratin or calcium help rebuild weak, brittle nails. OPI Nail Envy and Orly Nailtrition are highly recommended options.
Apply two to three times a week for best results. These create a protective barrier while delivering essential nutrients.
4. Give Your Nails a Break
Wait at least two to four weeks before applying new acrylics. Let those natural nails breathe and recover fully. During this time, stick to regular nail polish if color is a must. Avoid gel manicures, too, since they also require filing and soaking for removal.
Eat biotin-rich foods like eggs, nuts, and avocados to support nail growth from within. Wear gloves when washing dishes or cleaning to protect those fragile tips from water and harsh chemicals.
With consistent care, nails typically bounce back within four to six weeks. Now let’s wrap everything up.
Conclusion
Removing acrylic nails at home doesn’t have to be scary or damaging. The secret is simple: patience over speed, every single time. Whether going the acetone route or trying gentler alternatives, rushing the process always leads to regret.
Quick recap: File down the top layer, protect your skin, soak for 20 to 30 minutes, and gently push off the softened acrylic. Never peel. Never force. And always follow up with proper aftercare to bring those natural nails back to life.
And there you have it, gorgeous! Everything needed to safely remove acrylic nails at home without wrecking those natural beauties underneath. Bookmark this guide for the next time those acrylics need to go. Happy nail care!
Still have questions? These FAQs cover the most common concerns about acrylic nail removal.
Frequently Asked Questions
1. Can I Use Regular Nail Polish Remover Instead of Acetone?
Regular nail polish remover won’t work effectively because it’s too diluted. Always use 100% pure acetone for the best results. Non-acetone removers exist, but take significantly longer.
2. How long Does It Take for Nails to Recover After Acrylic Removal?
Most people see improvement within four to six weeks with regular moisturizing and nail strengtheners. Avoid new acrylics or gel manicures for at least four weeks. Patience and consistent aftercare are everything.
3. Why Won’t My Acrylic Nails Come Off After Soaking?
The acrylic layer might be too thick, or the soaking time wasn’t long enough. Extend soaking by 5 to 10 minutes and file down more of the top layer. Never force or scrape aggressively.